 1) Base coat with a mix of Butter Fudge and Dusky Flesh
  2) Multiple thin coats are better than one thick coat. In fact
this is the trick to keeping the surface silky smooth. Be sure to let each dry thoroughly before applying the next
 3) It is important to get a nice even base colour before beginning to shade and highlight
 4) Mixing a shade colour by adding a drab to the base mix. I generally use colder tones for shading flesh and usually mix this by adding a blue or a green to the base mix
 5) I apply shading to the miniature as if it is lit from above. While working under your regular painting lamp it's easy to place the mini down on your desk and see where the light would hit. I keep the shading quite subtle as it is much easier to add more shade colour if it is not quite dark enough
 6)In this case I felt the shading needed to be a little darker so I added a darker blue/grey to the mix
 7)It may be difficult to see in this pic, but I have darkened the shaded areas a little more
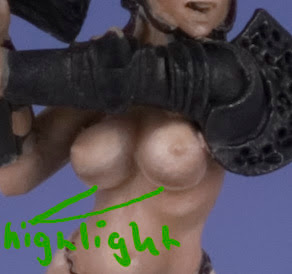
 8)Here I have started applying highlights with the original base colour with more Butter Fudge added
 9)I progressively lighten the highlights by first adding more Butter Fudge, and then Bone and White - using gradually lighter tones building the highlight in layers. I use the paint quite thin, ensuring each layer has dried before applying the next. I do use the two brush method to blend the highlights. First laying down paint with one brush and then bleeding the hard edge with a clean damp brush
 10) Continuing to lighten gradually using thin layers of paint.
 11) This highlight just under the boob (reflected light from the tummy) is key to making them look nice and round
 12) Final highlights
 13) A dusky flesh for the nipples and for the lips and the skin is almost finished. At this point I spend a little more time bringing out the facial features but I will save that for another step by step
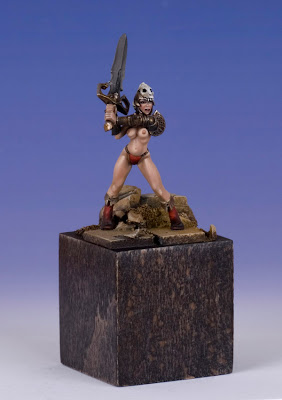
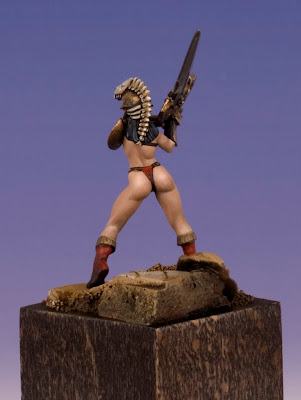
 The finished piece which is also now up for auction on Ebay!
Hope this is helpful
Ali


7 comments:
Very cool article. I do appreciate the explaination of cool shades and warm highlights. I will have to include those in my own efforts! I have an army of daemonettes I am currently working on and doing a lot of experimenting on skin tones and alien type results.
Please do keep up the fine work and excellent articles. I do love to sit and study what ya'll have have done and to try and incorporate some of your ideas/techniques into my own painting style.
GAR, down in Texas.
Excellent article Ali! Thanks for the tip on the highlight on the underside of the breast. I would never have thought of it myself... :)
Keep up the good work!
Awesome! Thanks for taking the time to explain all that. Now if I can just find the time to paint, I can try out your method...
Nice article and thank you so much for taking the time to put it together. It gives us a sneaky peak into your work, but not nearly enough! ;) I checked out the colours that you used, but it wasn't clear which tones of Dusky flesh and Butterfudge you used - there appear to be several of the same name :(
Interesting article
Illumination is very good ;)
cheers
angel
Thats a great tutorial.
Do you do anything to keep your paint wet on the palette? I often find that letting my paints completely dry on the mini leaves me with dry paint on the palette. This is troublesome when I'm layering highlights, and I have to get back to the shade I was at.
Art supply stores sell something called a "stay-wet palette", but you can easily make something similar. Take a coffee filter and dampen it with water. Cover with a piece of baking paper and tape it down so it lies flat over the filter. Now you have a mixing surface where the paint will suck up water through the baking paper by osmosis.
Post a Comment